Quick Methods For the Linksys Velop WHW03 Setup
In this digital era, Linksys Velop mesh systems are one of the renowned devices that are designed particularly to eliminate dead zones. Likewise, to use this device to its full extent and manage accordingly, you need to execute the Linksys Velop WHW03 setup. However, this is an essential step to use the networking device as per your requirements.
Similarly, the web interface of the Velop mesh wifi is quite simple and non-techies can easily access it. Additionally, you can perform the Linksys Velop WHW03 V2 Network setup via the three different methods. If you want to understand the whole configuration procedure for this mesh router, then walk through this guide.

Necessities For Linksys Velop WHW03 Setup
In addition, while you are going to configure the WHW03 Velop router, then ensure to have the below-mentioned things with you, such as:

Internet
Connection

WHW03 Mesh
System

Web/IP
Address

Admin
Credentials

Linksys
App

Computer/
Smartphone

Ethernet
Cable
How to Setup Linksys Velop WHW03 Mesh Router?
As discussed above, there are three variable methods to carry out the setup procedure for the given mesh wifi model. These are using the web GUI, Linksys App, and the 5-button push process. You can opt for any of these procedures but remember steps are different for each. Hence, to assist newbies, we shed light on each method in this section, have a look:
Linksys WHW03 Velop Setup Via Web GUI Method
- First & foremost, power on your WHW03 router.
- Now, join your computer/laptop to the Velop’s network.
- Here, mention the linksyssmartwifi.com web address in the browser bar.
- Further, type the admin credentials on the Velop login window that prompts you.
- Afterward, you will land on the smart Setup wizard of the router.
- Hereon, click on the CA link at the bottom of the dashboard of the Velop.
- Next, click on Connectivity>CA Router setup>Setup Node.
- Likewise, Create the SSID name and password, then tap on the Setup a Node.
- Similarly, execute the Advanced Settings like Guest Mode, Network Settings, etc. by visiting this section and following the on-screen guidelines.
- Again, click on Apply/Save to move forward with the settings you modified.
- At last, you are done with the Linksys WHW03 setup

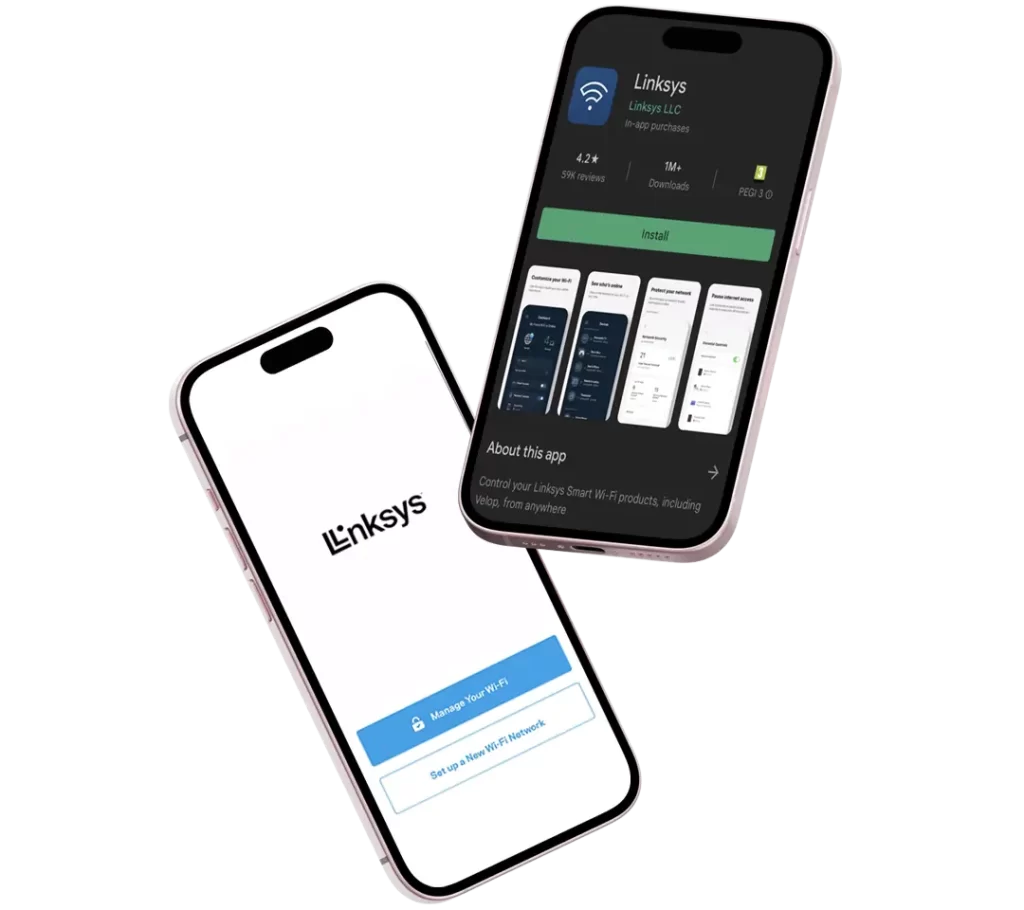
Linksys WHW03 Mesh Router Setup Using the App
- Initially, make sure your mobile phone is connected to the existing home network.
- Now, open the Linksys app on your smartphone and check that it is upgraded to the latest version.
- Proceed with the access to the Velop account by mentioning the admin credentials.
- If don’t have the app, then install it and Create a new account first or use your email address.
- After Linksys WHW03 Velop login, you are taken to the smart setup wizard of the Velop router.
- To change the network name and password, go to the Wi-Fi settings.
- Further, go back to the dashboard and visit the Advanced settings to configure the Guest network, Bridge mode, Parental controls, and more.
- Thereafter, hit the Save/Apply button to apply the recent settings.
- Finally, you learned about how to perform Linksys WHW03 Mesh router setup through the Linksys app.
Button Push Linksys Velop WHW03 V2 Network Setup
- To begin with, power on all the nodes.
- Now, take the parent and child nodes closer to each other.
- Further, ensure that nodes are in setup mode reflected by the solid Purple light.
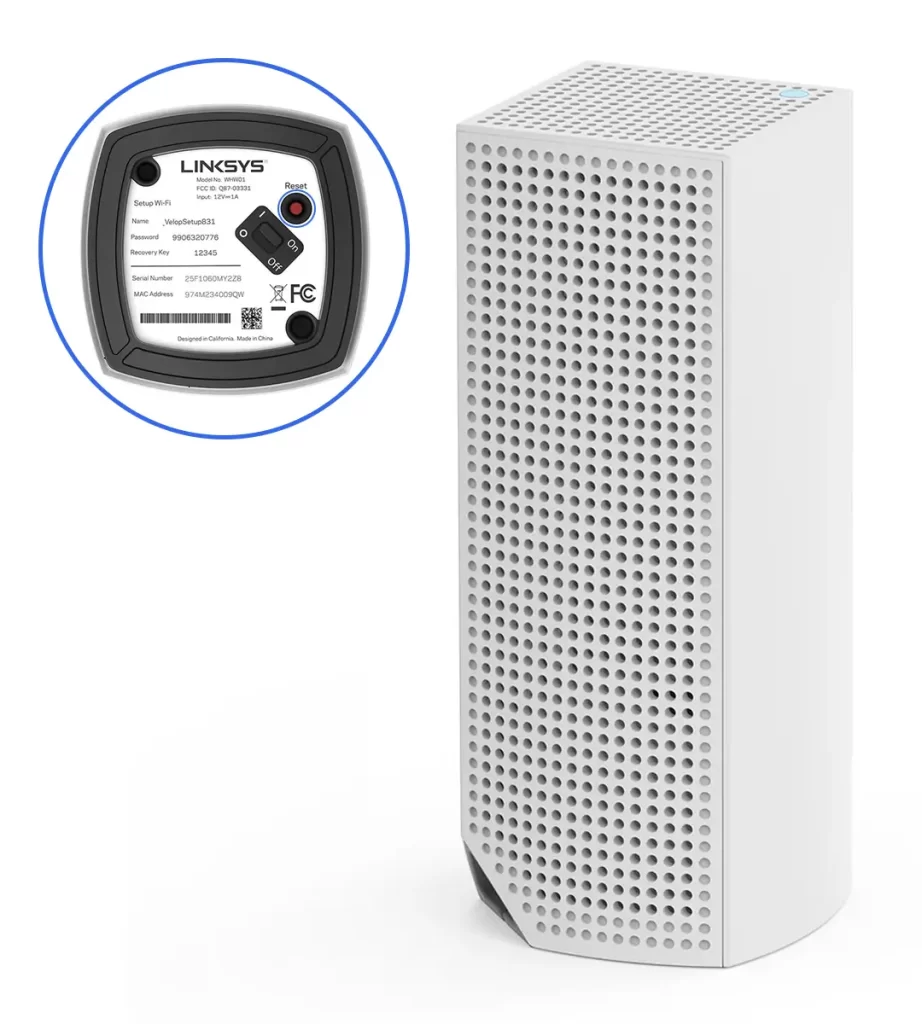
- If at any node, there isn’t a purple light solid, reset it by holding the reset knob for 15 sec until the LED turns to solid purple.
- Next, use the ethernet cable to connect the router’s internet port and the modem.
- Next, locate the reset button on the bottom of the parent node and press this five times in 5 seconds.
- Remember to not hold this knob and keep doing this 5 times, till the parent node starts winking.
- Then wait until the LED on all nodes turns into solid blue, which means ready to use.
- After all the nodes flashed solid blue light, you can relocate the child nodes.
- Hereon, your Velp mesh network is ready to use and you can connect client devices to it.
- Lastly, access Linsky’s app or web interface to personalize the more advanced settings.
How to Troubleshoot Linksys WHW03 Mesh Setup Issues?
Additionally, now you are aware of the different ways for the Linksys Velop WHW03 setup. Besides that, new users get confused with several setup issues that are temporary and can easily be resolved. The problems can occur due to an unstable network, incorrect login details, outdated firmware, etc. So, here in this section, we share some key steps to fix the setup errors; let’s take a review:
- Check that the web/IP address you have used is correct.
- Next, cross-check the admin details before you enter the login window.
- Ensure to use an updated version of the Linksys app or reinstall it.
- Check for network cable connections, as these are tightened and are not damaged.
- Stabilize the internet with a wired network connection if face issues with the wireless network.
- Power cycle the router to fix internal glitches and bugs.
- Remove network obstructions, like mirrors, furniture, microwaves, etc.
- Check and update the router’s firmware for any issues in connectivity.
- Temporary disabling of the Firewall/VPN/Antivirus, etc. can be done to complete the setup process.
- Delete the unnecessary data from the web browser or use another browser if it does not support the given web address.
- Finally, you may factory reset your Velop router if nothing else works.
Need further assistance? Feel free to reach out to us!
FAQs
Can I Set Up a Guest Network on My Linksys WHW03 Mesh System?
Yes, you can easily access the Guest Network on the Linksys WHW03 mesh system by visiting Advanced Settings>Guest Network/Guest Access and following the guidelines.
How to Access Linksys Velop WHW03 in Bridge Mode?
To configure Velop WHW03 Bridge Mode, access the web interface of the router, go to Advanced Settings>Internet Settings>Connection Type> Bridge Mode, and proceed with the given instructions.
What are the Login Credentials for the WHW03 Velop System?
The default username and password for the Velop WHW03 is “admin” in lowercase. If you change them, then use what you set recently for login.
How to Add Another Node to Linksys WHW03 Velop Router?
To add a child node to the Velop router, access the admin interface first, and then click on Setup a New Product>Add Another Node to WHW03. Further, follow the guidelines to complete the process.