Linksys Velop Setup: For exceptional network performance
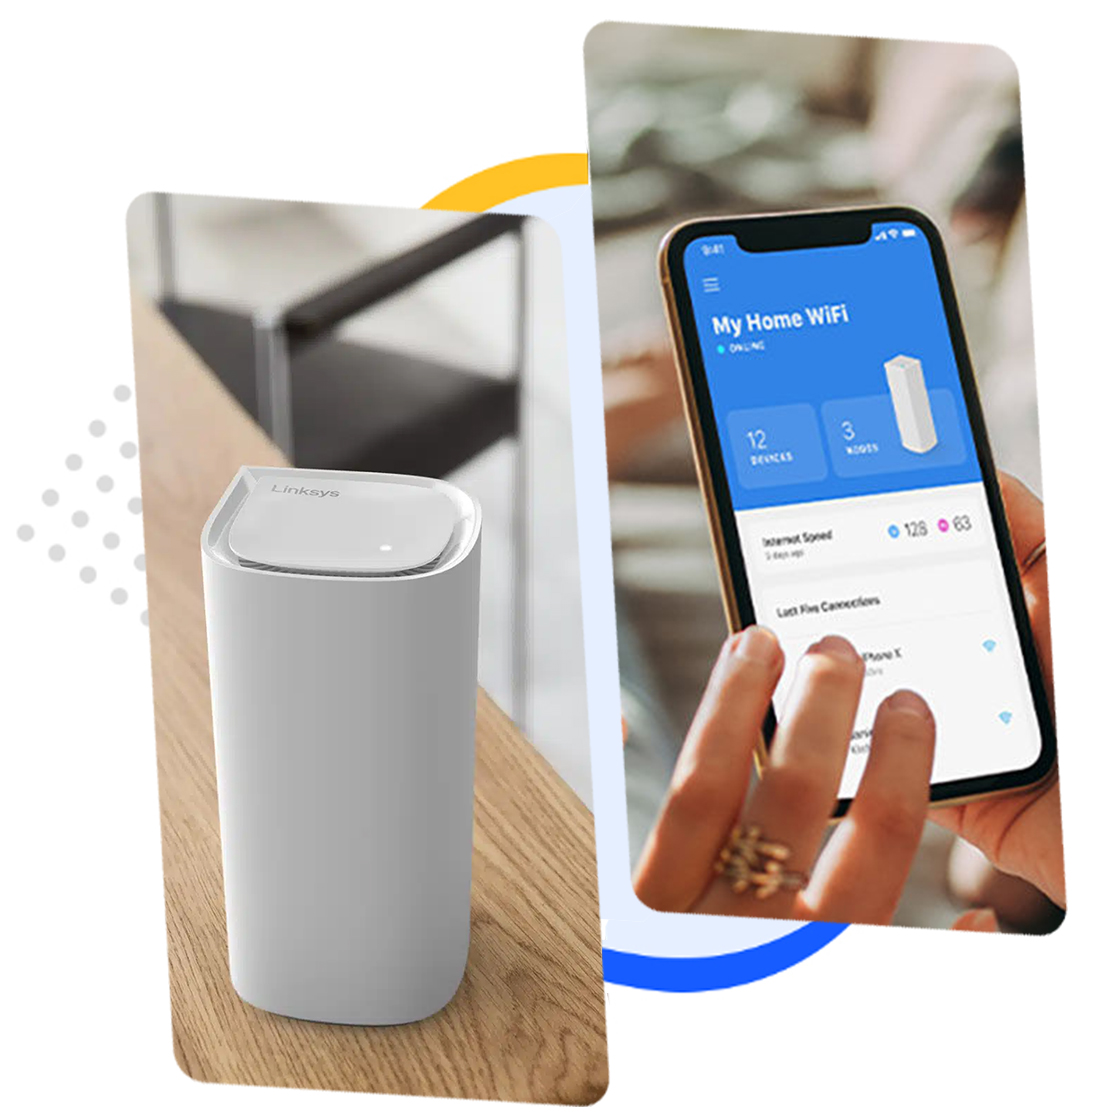
Nowadays, Linksys Velop mesh is counted as one of the superb networking devices to unlock seamless connectivity. Likewise, to master your network management & control, Linksys Velop setup is the primary step. Similarly, the web interface of the Velop network is easy to access and configure. So, a user can also set their Linksys Velop networking device on their own.
In addition, two primary methods are used to carry out the Velop Linksys setup procedure. Initially, you can opt for the web address method or secondly use the Linksys app. Likewise, to boost the network and streamline your wifi experience, configuration is an essential factor. So, if you want to know the complete setup procedure for the same, stay in touch with this page.
What Do You Need to Perform Linksys Velop Setup?
Generally, a few of the necessary things are required to carry out the setup process for a new router or to perform Linksys Velop setup with existing router. Let’s have a look at those essentials:

Reliable network connection

Web GUI/IP address

Admin Credentials

Linksys app

Computer/laptop /smartphone

Ethernet cables
How to Carry Out the Linksys Velop Mesh Router Setup Efficiently?
Moreover, you are now familiar with the primary requirements for the configuration procedure. Now, it is time to explore the complete steps for the Linksys router Velop setup through the above-discussed different methods. At this point, we begin with the prior preparation to perform the setup process completely. Let’s begin here:
Preliminary Preparations for Linksys Mesh Velop Setup
- Initially, remove your existing router or mesh system & modem (if used).
- Now, power cycle the modem and wait patiently until it turns on again.
- Select one Velop node as a primary router.
- Further, join the modem to the internet port of the router.
- Next, turn on the primary node first and then the child nodes.
- Ensure that the child nodes are placed in the same room or area where the router is present and the distance should not be more than 10 ft.
- Make sure that the nodes show purple light while turned on.
- To begin with the setup process, ensure to have the accurate web address & admin details.
- Also, download the Linksys app if you don’t have a phone & create an account.
- If already using the app, then check it for the updated version.
- Confirm that your computer/laptop, or smartphone is not connected to the pre-existing network.
Now, take a brief look at the primary setup procedure of the Velop as discussed below:
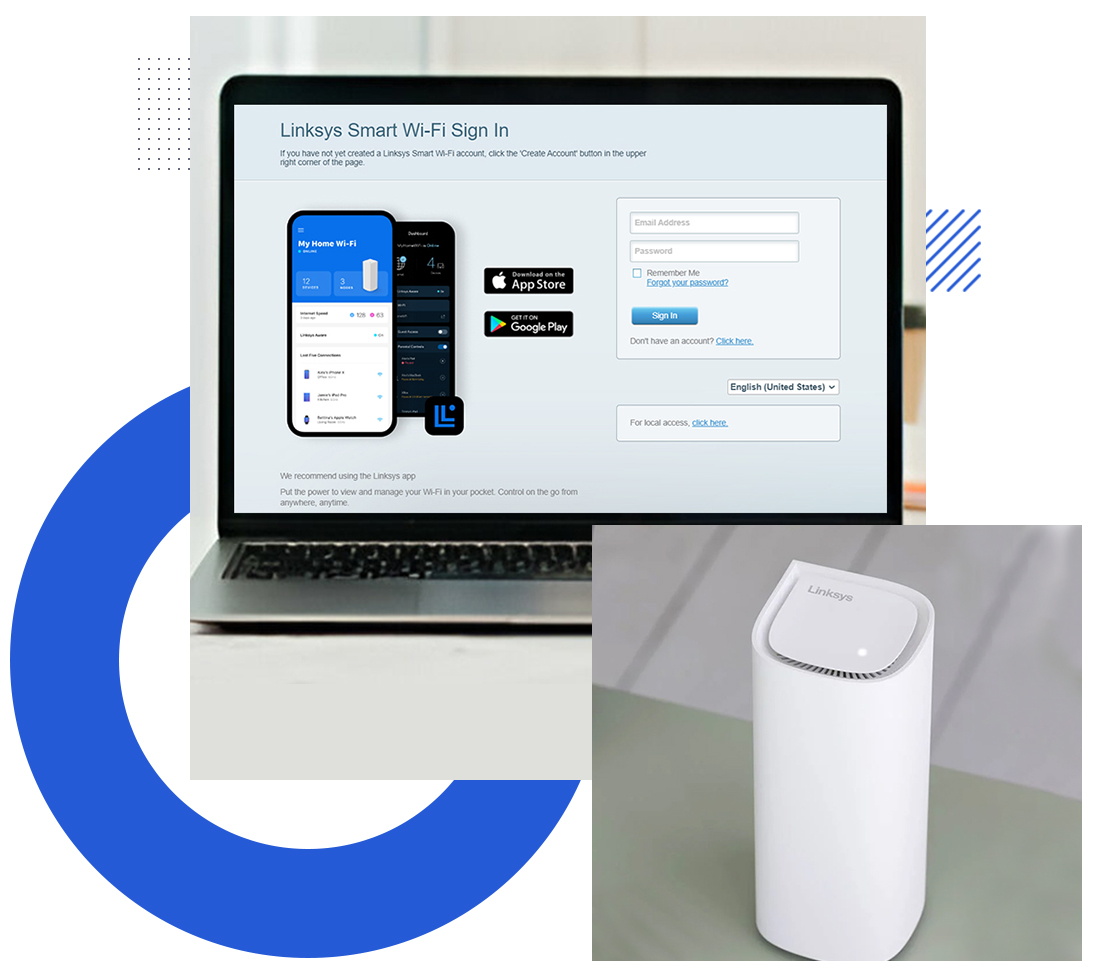
Linksys Mesh Velop Setup Via the Web GUI
- To begin with, connect the computer to the Velop network.
- Open the web browser and type linksyssmartwifi.com in the browser bar.
- Hereon, enter the admin details on the login window and press Login.
- Further, you land on the master Setup wizard of the Velop router.
- Go to the dashboard and click on Setup a New Product.
- Proceed with the on-screen instructions to add the Parent node.
- Now, check that the blinking purple node turns into solid purple.
- After that, go to the CA>Connectivity>“Setup a New WiFi Network.“
- Configure the network settings as per the on-screen guidelines.
- Afterward, you can configure the Basic and Advanced settings to manage your wireless network accordingly on the same dashboard.
- Check that the SSID name and password are changed or not. If not, then modify them.
- Next, go to the Advanced section and configure Bridge Mode, Parental Controls, etc. by following the on-screen instructions.
- At last, click on Save/Apply to implement the modified changes.
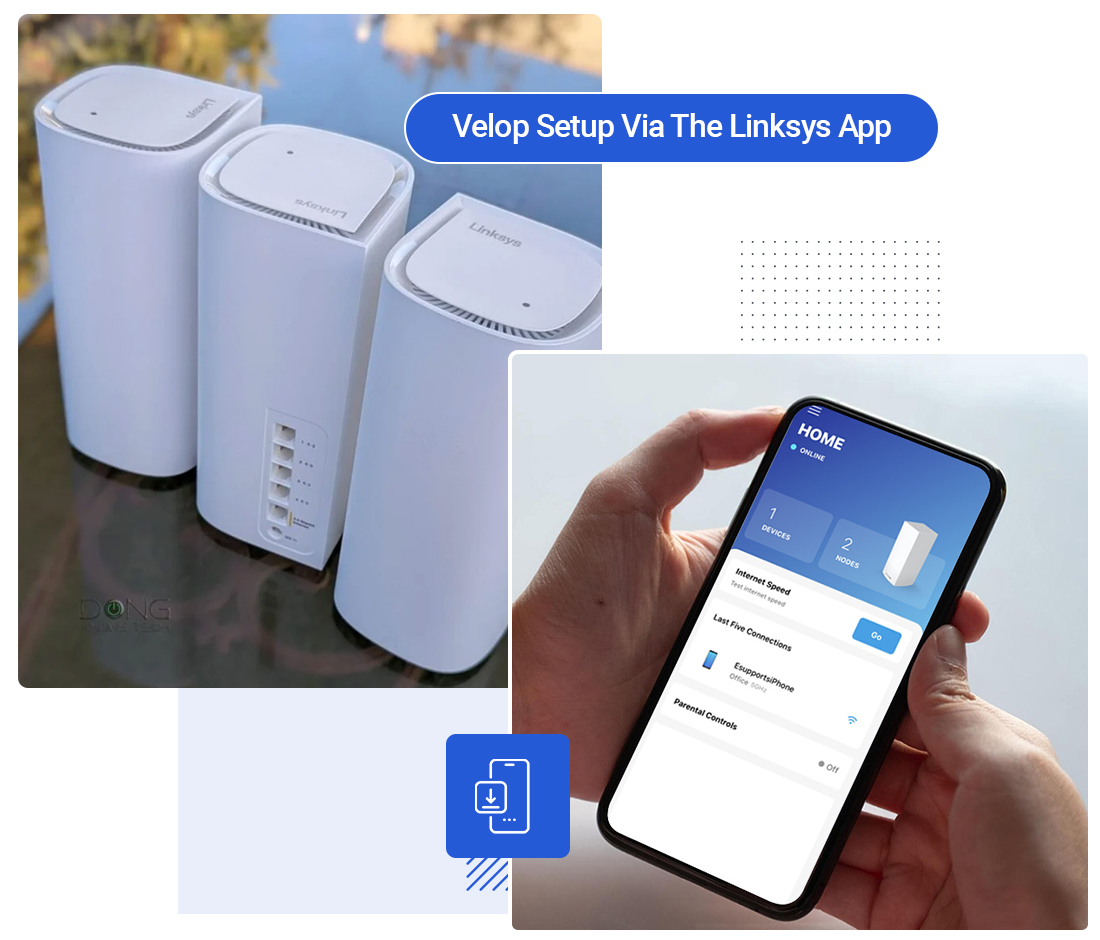
Linksys Router Velop Setup Using the Linksys App
- Login to your Linksys account by entering the admin credentials on the login page.
- After logging in, you reach the smart Setup wizard of the Velop.
- Visit the dashboard and click on Setup a New Product.
- Follow the guidelines to add your Velop parent node.
- Further, reach the CA>Connectivity>“Setup a New WiFi Network.“
- Next, follow the instructions given on the screen to complete the wifi setup.
- Here, go to the Basic settings and change the SSID and password if not altered.
- After that, go to Advanced Settings and modify the further settings according to your preferences, such as Guest Network, Access Point, Network Settings, etc.
- Follow the on-screen instructions to complete the Linksys Velop Setup.
- Finally, tap on Save/Apply to secure the modified settings.
Is Linksys Velop Not Working After the Setup? Here are the Fixes!
If you are facing the Linksys Velop not working after the setup, it may happen for various reasons. These can be power interruptions, loose connections, unstable networks, distance between primary and secondary nodes, etc. Hence, it is necessary to resolve these problems by following some effective troubleshooting methods, such as:
- Make sure the router and modem are linked appropriately.
- Check that the connected devices have a sufficient power supply with adequate voltage.
- Power cycle the networking device to resolve the technical glitches and bugs.
- After that, check if the power cables, adaptors, and Ethernet cables are in good condition and not faulty.
- If you are using a wireless network but it is unstable, then opt for the wired network connection.
- If the network connectivity issues persist continuously, then contact your ISP authority and know the status.
- Upgrade the router’s firmware if prompted by following the guidelines.
- Place the secondary nodes within the range of the primary router’s network.
- Make sure the linked devices are compatible with Velop’s requirements.
- Enter the accurate admin credentials and the web/IP address for Linksys Velop Setup.
- If nothing else works, then factory reset your networking device and reconfigure it from scratch.
Still seeking more help with the Linksys Velop? Get in touch with us here!
Frequently Asked Questions
Can I Setup Linksys Velop With an Existing Router?
Yes, you can configure the Linksys Velop setup with an existing router.
How to Setup Linksys Mesh Router Via Remote Access?
Initially, you need to access the admin panel of the Velop mesh. After that, visit Advanced Settings>Network Administration>Remote Management >Allow Remote Access and follow the guidelines here to complete the procedure.
Do I Need to Login to Set Up the Linksys Mesh Router?
Yes, logging in to the Linksys Mesh router is the primary step to configure your Velop system.
Is It Possible to Setup Velop Mesh Router Without the App?
Yes, you can configure your Velop mesh router without the app by using the web GUI.